
Your Service Promise Headline Goes Here
A short description/blurb goes here to elaborate on the service, and promote the call to action below.
What Fitzgerald's Creative Coatings Can Do For You
A few of the services offered...
Service or Benefit #1
Describe your service, and/or benefit right here. Just click, and type to edit.
Service or Benefit #2
Describe your service, and/or benefit right here. Just click, and type to edit.
Service or Benefit #3
Describe your service, and/or benefit right here. Just click, and type to edit.
Ready to Get Started?
ABOUT
Fitzgerald's Creative Coatings
Write a little information about yourself and/or the business here, along with a few bullet points of why you stand from others.
Credibility factor lorem ipsum
Authority stats and other lorem ipsum
Results and experience lorem ipsum

Get trends, tips and more sent to your inbox and phone
Subscribe for Updates
Stay in the loop effortlessly with monthly industry updates, tips and more. Complete the form below to sign up.
Recent Tips & Updates
Check out our latest posts from our blog...
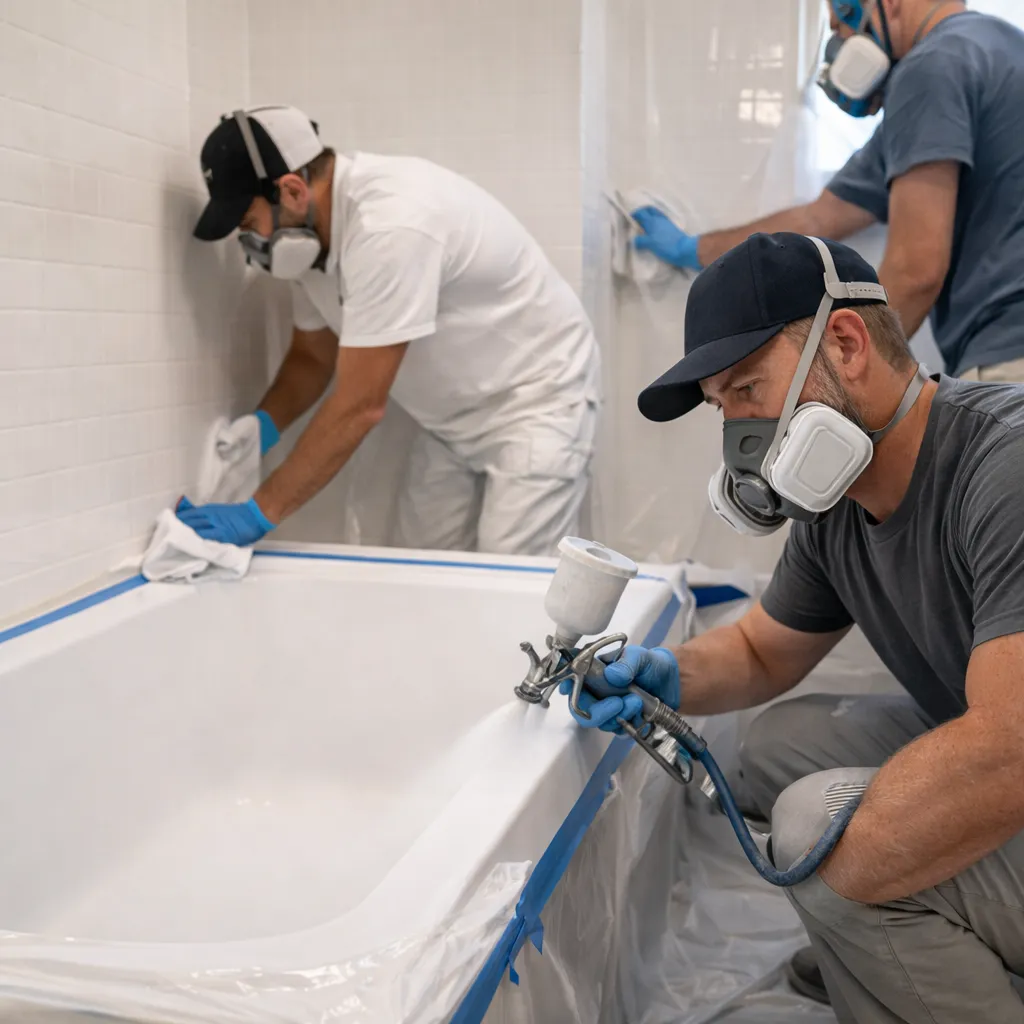
How We Reglaze a Bathtub: Step-by-Step Behind the Scenes
Most people hear “reglazing” and think one thing: quick, cheap alternative to replacing a tub.
And that’s true.
But here’s what most homeowners don’t realize…
👉 The entire success of a reglazing job has almost nothing to do with the final coat
…and everything to do with what happens before it.
That’s where the real difference is made between a finish that lasts years and one that starts peeling in months.
At Fitzgerald’s Creative Coatings, the process isn’t rushed, simplified, or cut short. Every tub goes through the same detailed system because skipping steps doesn’t save time… it just guarantees problems later.
Let’s walk through what actually happens behind the scenes.
🧼 Step 1: It Starts With a Surface That’s Truly Clean
This isn’t your typical “scrub and go.”
Before anything is applied, the tub is completely stripped down removing:
Soap scum buildup
Body oils
Cleaning product residue
Any previous coatings or finishes
Why does this matter so much?
Because even the smallest bit of leftover residue can break the bond between the surface and the new coating.
And when that happens?
You get peeling. Bubbling. Chipping.
Not immediately but inevitably.
This step is the foundation. If it’s not done right, nothing that follows will hold up the way it should.
🔧 Step 2: Fix What You Can’t Ignore Later
Once the surface is clean, the next focus is damage control.
Chips. Cracks. Rough spots.
This is where a lot of companies cut corners because it takes time, skill, and patience to do it right.
But here’s the truth:
A small crack today becomes a major failure point tomorrow.
Left untreated, it can:
Spread underneath the finish
Let moisture seep in
Compromise the entire surface
So instead of covering it up, we eliminate it.
Each damaged area is:
Carefully filled
Smoothed perfectly flush
Allowed to cure fully
The goal?
A surface that looks and acts like it was never damaged in the first place.
🎨 Step 3: The Layers That Actually Make It Last
Now comes the part most people think is the whole job… but it’s really just the final phase.
Reglazing isn’t a single coating - it’s a layered system, and each layer has a job to do.
1. Primer
This is the chemical handshake between the tub and the new finish.
Skip it or use the wrong one and the entire job is compromised before it begins.
2. Bonding Agent
This is where durability comes from.
It locks everything together so the finish can handle:
Daily use
Cleaning products
Temperature changes
3. Topcoat
This is the part you see and the part everyone notices.
Applied in smooth, even passes, it creates that glossy, like-new finish.
But here’s the catch:
Even a perfect topcoat can’t fix bad prep.
And applying it correctly takes real experience because:
Uneven passes show
Dust ruins the surface
Rushing creates defects
This is where craftsmanship matters just as much as materials.
⏳ Step 4: The Step Most People Rush (and Regret)
Once the coating is done, the job isn’t finished.
It needs time to cure.
This is where a lot of DIY jobs and even some rushed professional ones - fall apart.
Use the tub too soon, and you risk:
Soft spots
Premature wear
Permanent damage to the finish
Done right, though?
You’re left with a surface that’s:
Smooth
Durable
Built to last
💡 So… What Makes a Reglaze Actually Last?
It’s not just the product.
It’s not just the price.
It’s the process.
A reglazing job will only be as good as:
The prep work
The repairs
The application
The patience to let it cure properly
Cut corners anywhere along the way… and the finish will tell on you later.
📘 Want to Know Exactly What to Look For?
Most homeowners don’t know what questions to ask or what separates a quality job from a quick one.
That’s exactly why I created:
The Ultimate Reglazing Guide
Inside, you’ll learn:
What to expect from start to finish
What red flags to watch for
How to make sure the job is done right the first time
🛁 Thinking About Reglazing Your Tub?
When you’re ready, we’re here.
Every project we take on follows the same standard you just read about:
No shortcuts
No rushed prep
No guesswork
Just a process designed to give you a finish that looks better and lasts longer.
Reach out today, and let’s talk about what your tub actually needs.

Let's Connect!
Here are a few ways you can get in touch...
(513) 724-3456
fitzycincinnatioh.com
3663 Highland Green, Cincinnati OH 45245

Fitzgerald's Creative Coatings | Privacy Policy
Read Our Latest Blogs
Lorem ipsum dolor sit amet, consectetur adipiscing elit.
How We Reglaze a Bathtub: Step-by-Step Behind the Scenes
Most people hear “reglazing” and think one thing: quick, cheap alternative to replacing a tub.
And that’s true.
But here’s what most homeowners don’t realize…
👉 The entire success of a reglazing job has almost nothing to do with the final coat
…and everything to do with what happens before it.
That’s where the real difference is made between a finish that lasts years and one that starts peeling in months.
At Fitzgerald’s Creative Coatings, the process isn’t rushed, simplified, or cut short. Every tub goes through the same detailed system because skipping steps doesn’t save time… it just guarantees problems later.
Let’s walk through what actually happens behind the scenes.
🧼 Step 1: It Starts With a Surface That’s Truly Clean
This isn’t your typical “scrub and go.”
Before anything is applied, the tub is completely stripped down removing:
Soap scum buildup
Body oils
Cleaning product residue
Any previous coatings or finishes
Why does this matter so much?
Because even the smallest bit of leftover residue can break the bond between the surface and the new coating.
And when that happens?
You get peeling. Bubbling. Chipping.
Not immediately but inevitably.
This step is the foundation. If it’s not done right, nothing that follows will hold up the way it should.
🔧 Step 2: Fix What You Can’t Ignore Later
Once the surface is clean, the next focus is damage control.
Chips. Cracks. Rough spots.
This is where a lot of companies cut corners because it takes time, skill, and patience to do it right.
But here’s the truth:
A small crack today becomes a major failure point tomorrow.
Left untreated, it can:
Spread underneath the finish
Let moisture seep in
Compromise the entire surface
So instead of covering it up, we eliminate it.
Each damaged area is:
Carefully filled
Smoothed perfectly flush
Allowed to cure fully
The goal?
A surface that looks and acts like it was never damaged in the first place.
🎨 Step 3: The Layers That Actually Make It Last
Now comes the part most people think is the whole job… but it’s really just the final phase.
Reglazing isn’t a single coating - it’s a layered system, and each layer has a job to do.
1. Primer
This is the chemical handshake between the tub and the new finish.
Skip it or use the wrong one and the entire job is compromised before it begins.
2. Bonding Agent
This is where durability comes from.
It locks everything together so the finish can handle:
Daily use
Cleaning products
Temperature changes
3. Topcoat
This is the part you see and the part everyone notices.
Applied in smooth, even passes, it creates that glossy, like-new finish.
But here’s the catch:
Even a perfect topcoat can’t fix bad prep.
And applying it correctly takes real experience because:
Uneven passes show
Dust ruins the surface
Rushing creates defects
This is where craftsmanship matters just as much as materials.
⏳ Step 4: The Step Most People Rush (and Regret)
Once the coating is done, the job isn’t finished.
It needs time to cure.
This is where a lot of DIY jobs and even some rushed professional ones - fall apart.
Use the tub too soon, and you risk:
Soft spots
Premature wear
Permanent damage to the finish
Done right, though?
You’re left with a surface that’s:
Smooth
Durable
Built to last
💡 So… What Makes a Reglaze Actually Last?
It’s not just the product.
It’s not just the price.
It’s the process.
A reglazing job will only be as good as:
The prep work
The repairs
The application
The patience to let it cure properly
Cut corners anywhere along the way… and the finish will tell on you later.
📘 Want to Know Exactly What to Look For?
Most homeowners don’t know what questions to ask or what separates a quality job from a quick one.
That’s exactly why I created:
The Ultimate Reglazing Guide
Inside, you’ll learn:
What to expect from start to finish
What red flags to watch for
How to make sure the job is done right the first time
🛁 Thinking About Reglazing Your Tub?
When you’re ready, we’re here.
Every project we take on follows the same standard you just read about:
No shortcuts
No rushed prep
No guesswork
Just a process designed to give you a finish that looks better and lasts longer.
Reach out today, and let’s talk about what your tub actually needs.